

Install the widget on WordPress
This guide uses the JustReview Testimonials widget as the example. Every other widget works the same way.
Add the library to your theme
-
Build your widget and click “Generate Code for your website”.
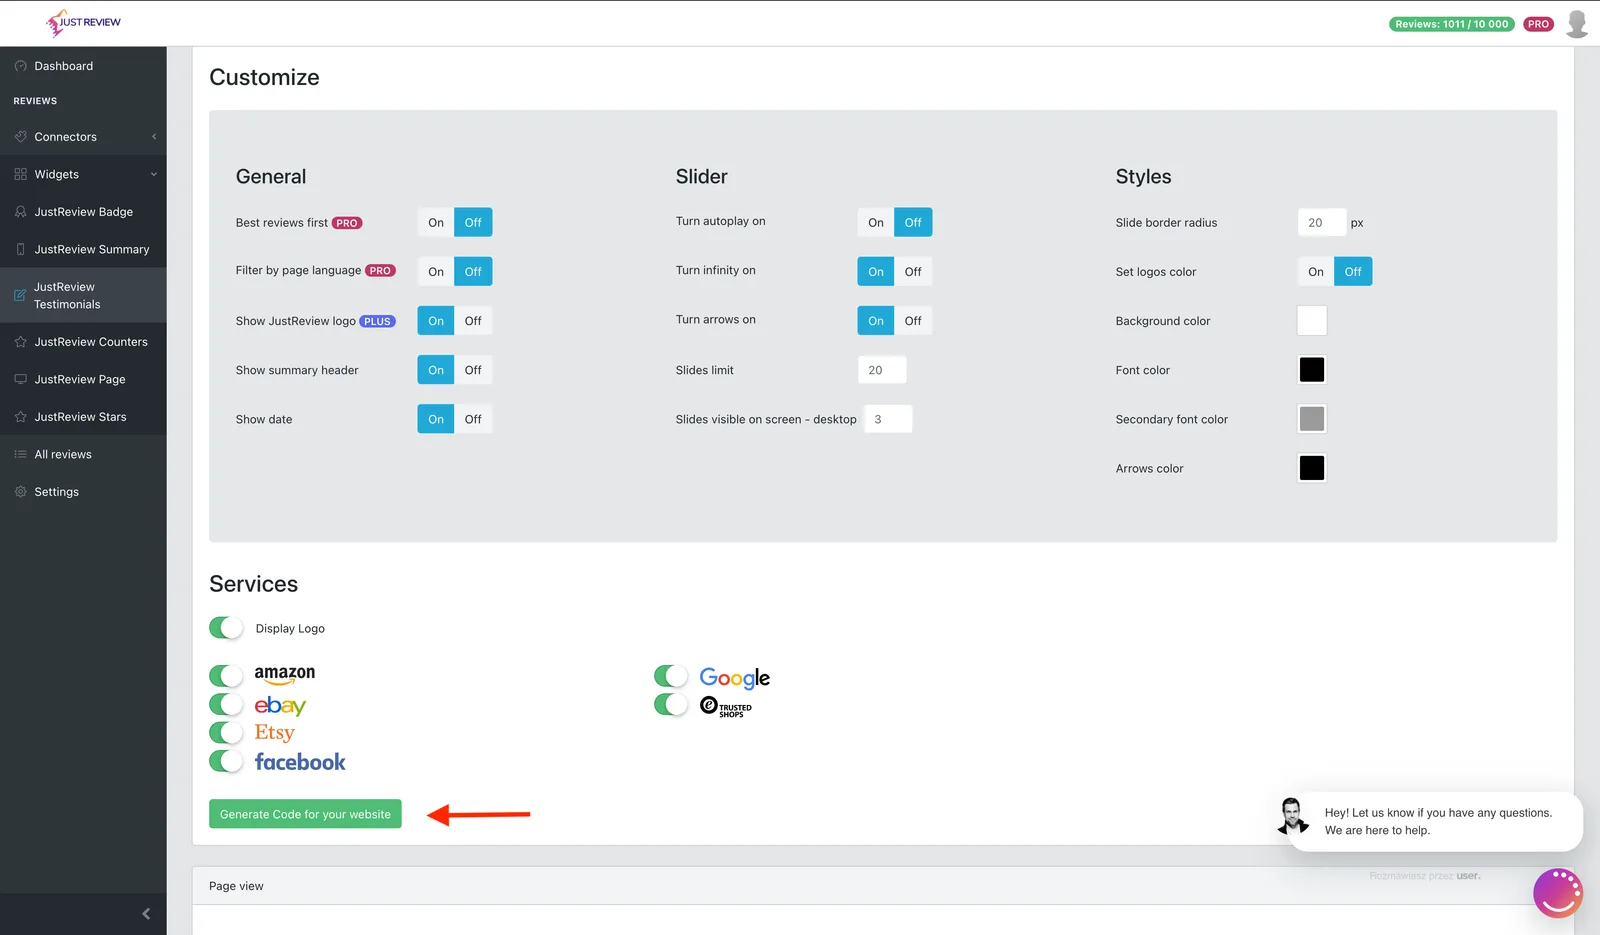
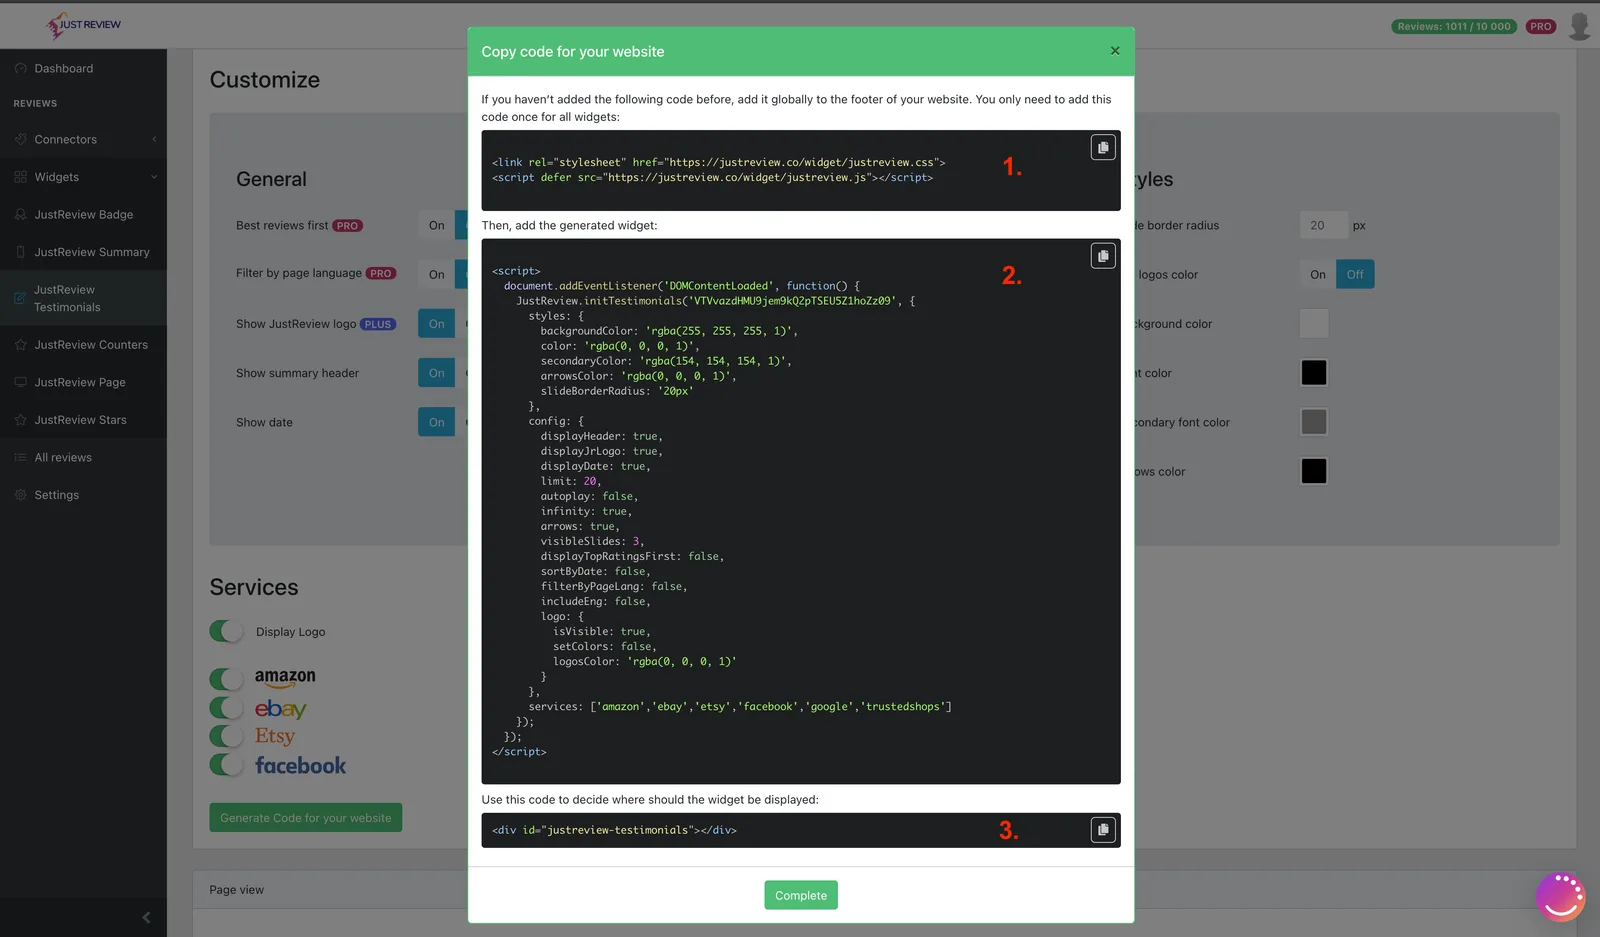
-
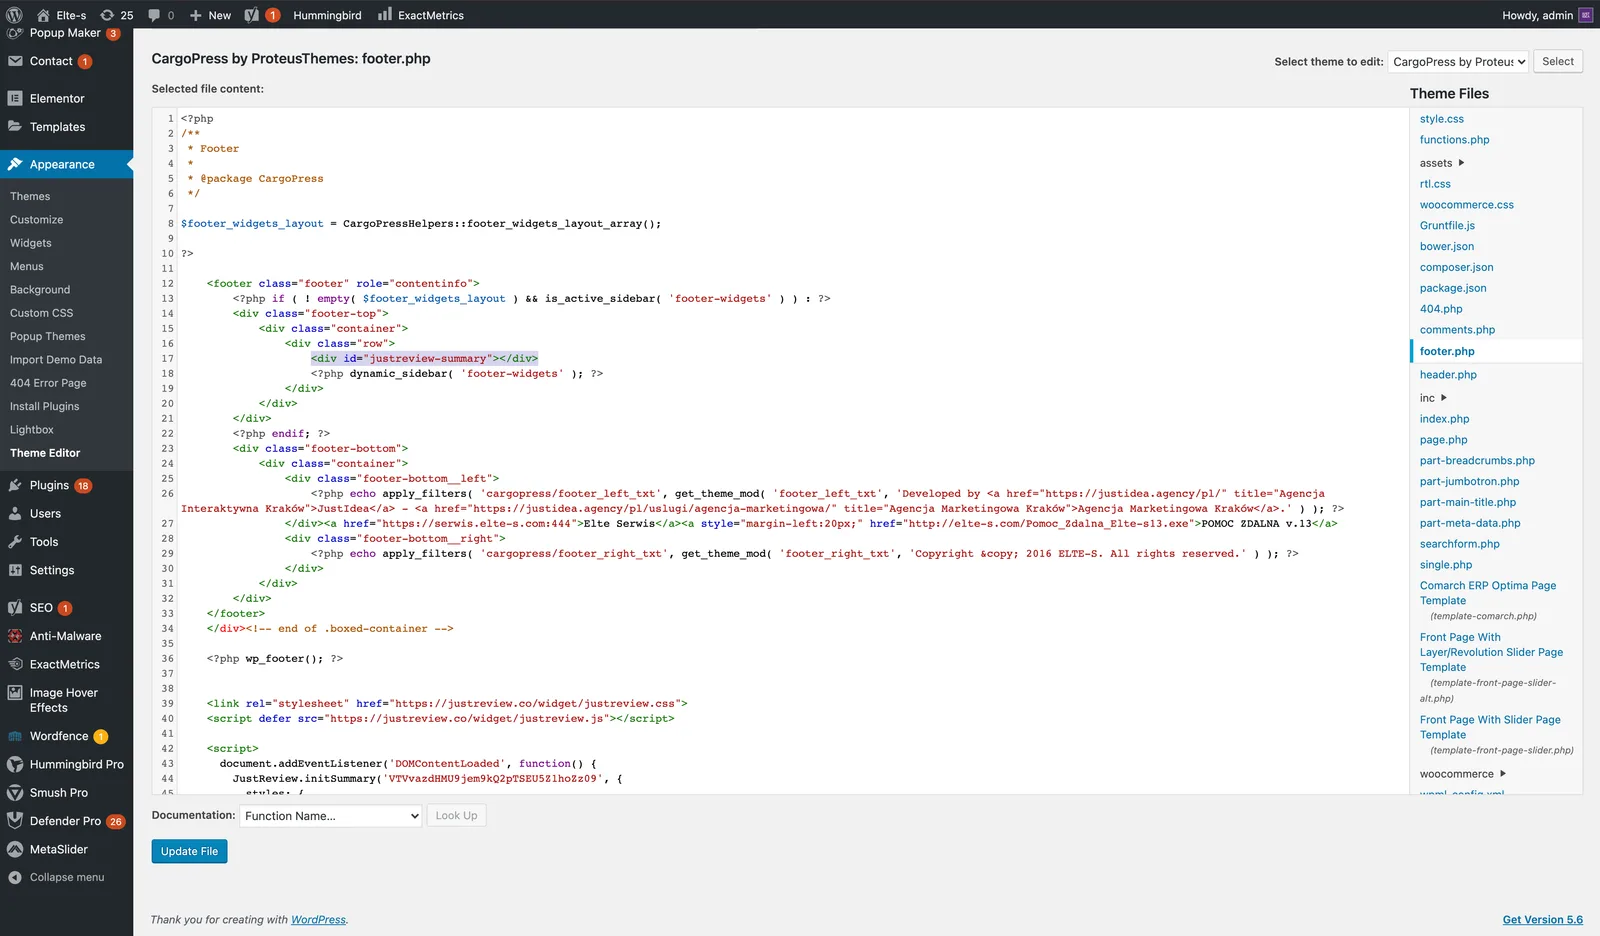
Open the theme editor: Appearance → Theme File Editor.
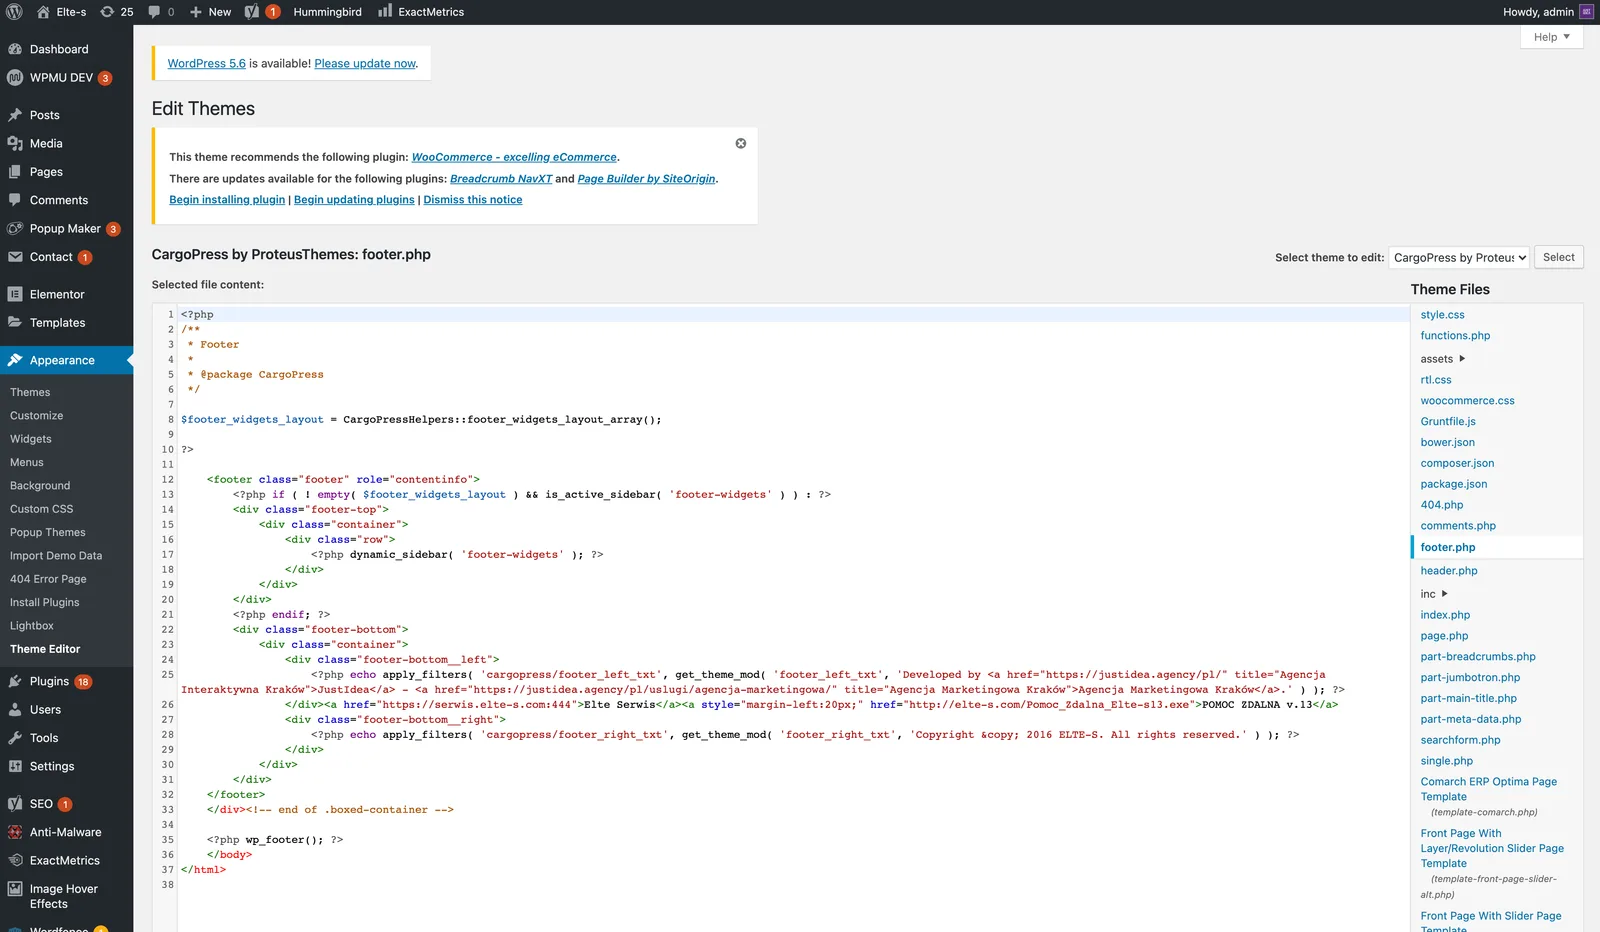
-
Edit
footer.phpand paste part 1 and part 2 before the closing</body>tag.Part 1 loads the library and belongs on the page only once, even when you display several widgets. Part 2 is the configuration for one widget, so add one part 2 per widget.
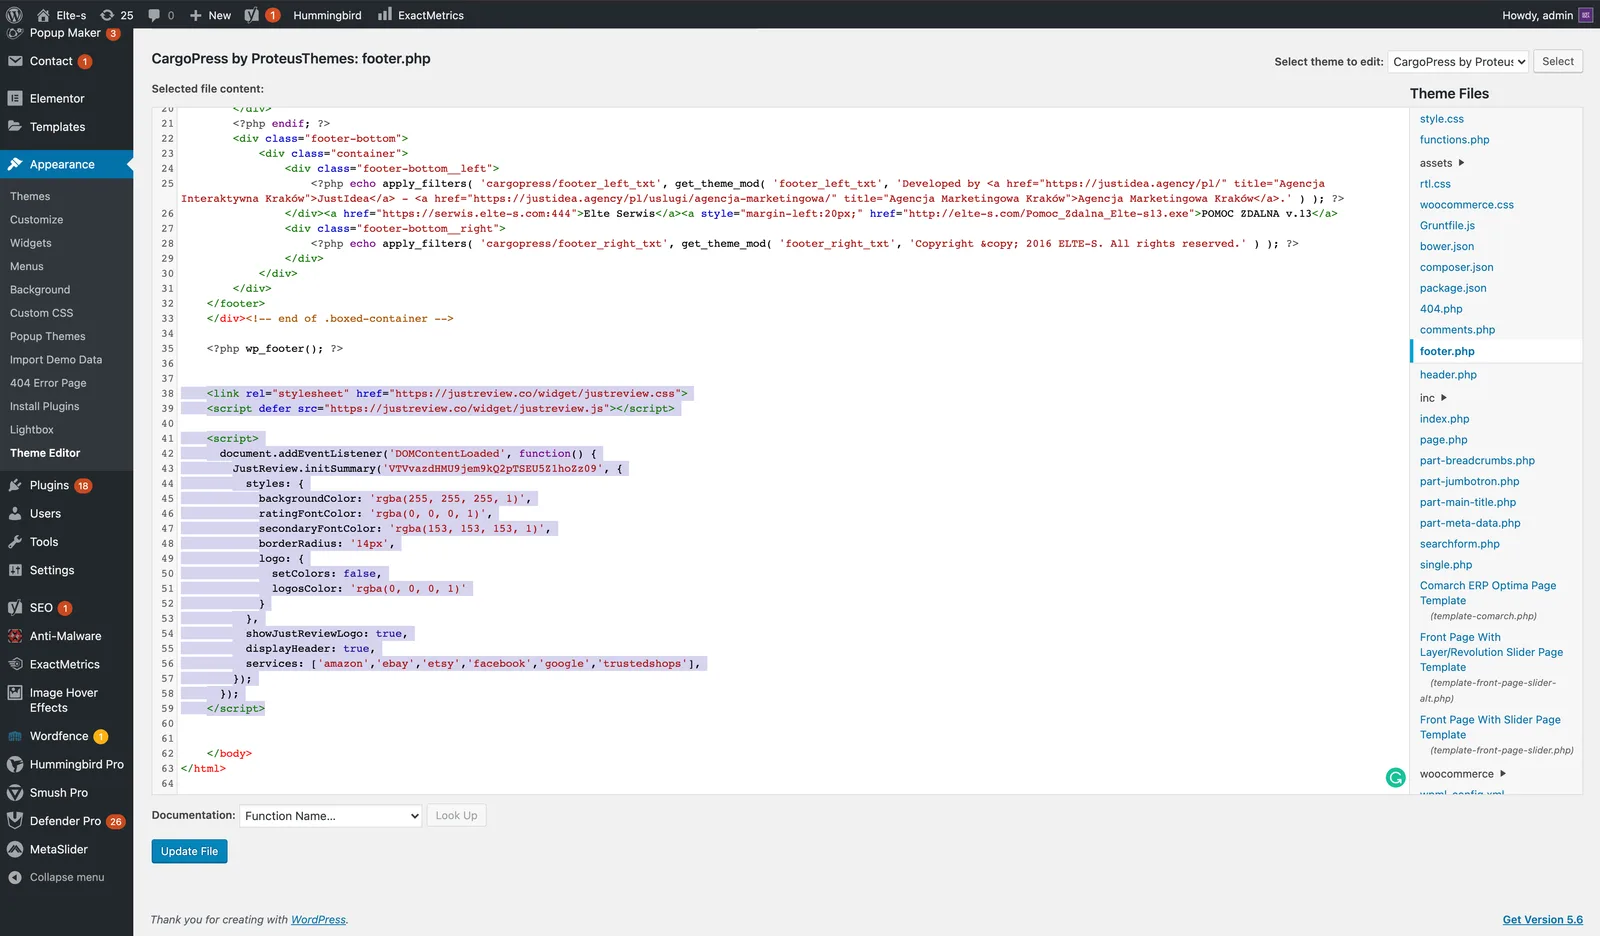
Save with Update File.
Place the widget on the page
Part 3 of the snippet is the container that decides where the widget renders. Pick the method that matches how you build pages.
Paste part 3 into the template file at the spot where the widget should show up.
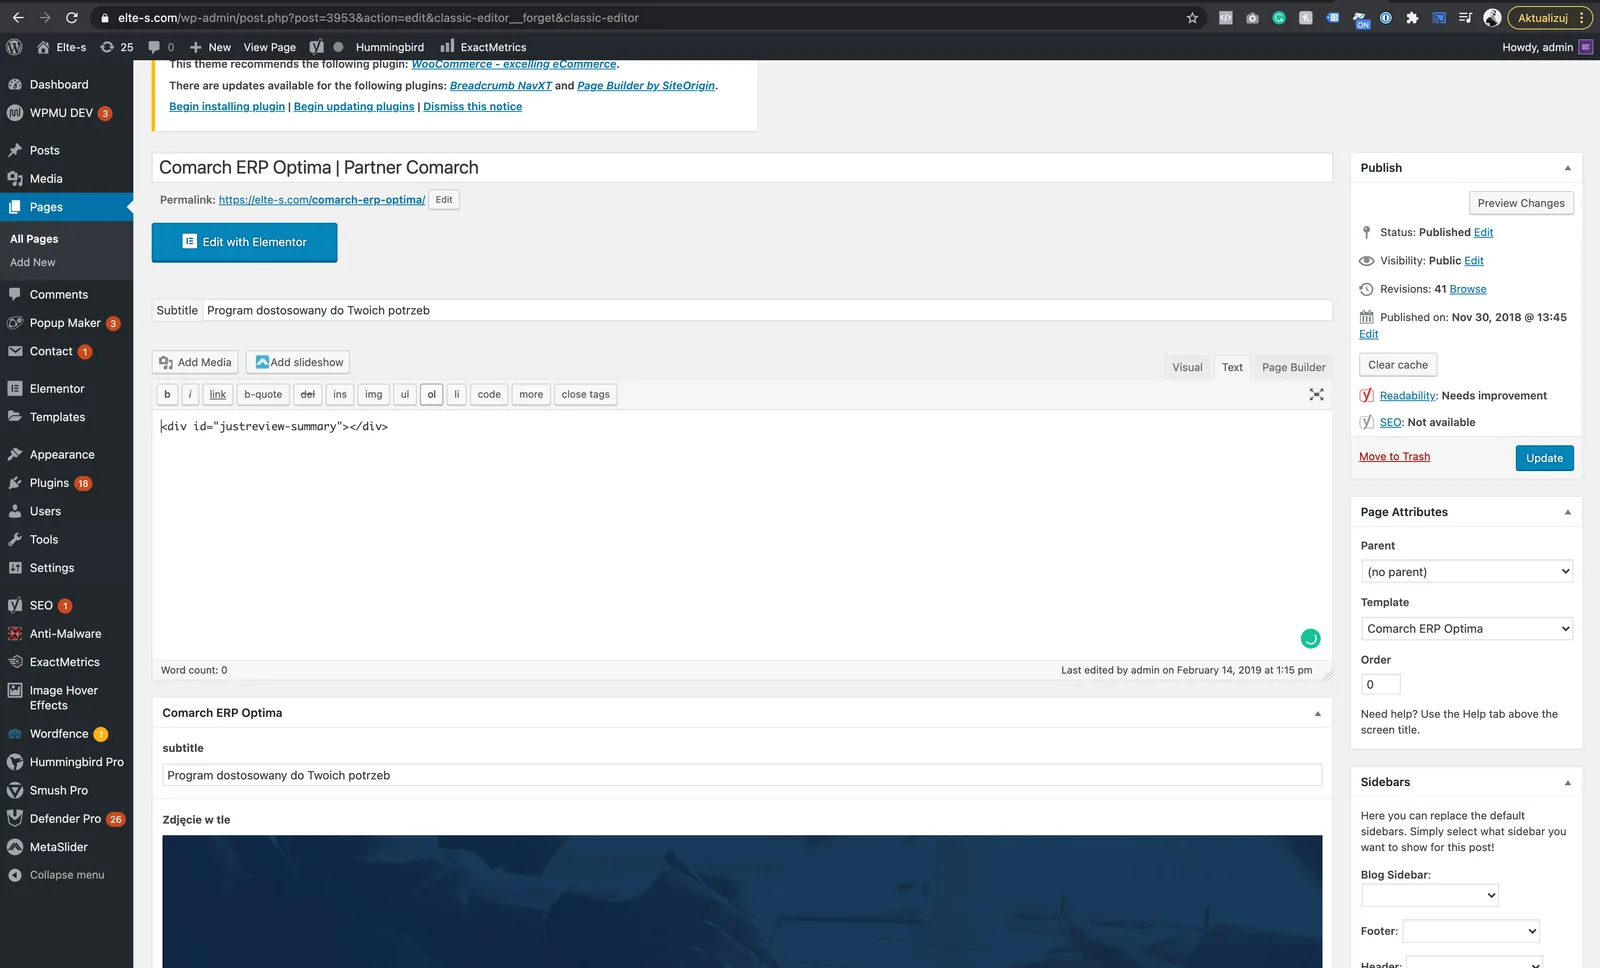
Add a Custom HTML block (or switch the classic editor to the Text tab) and paste part 3 there.
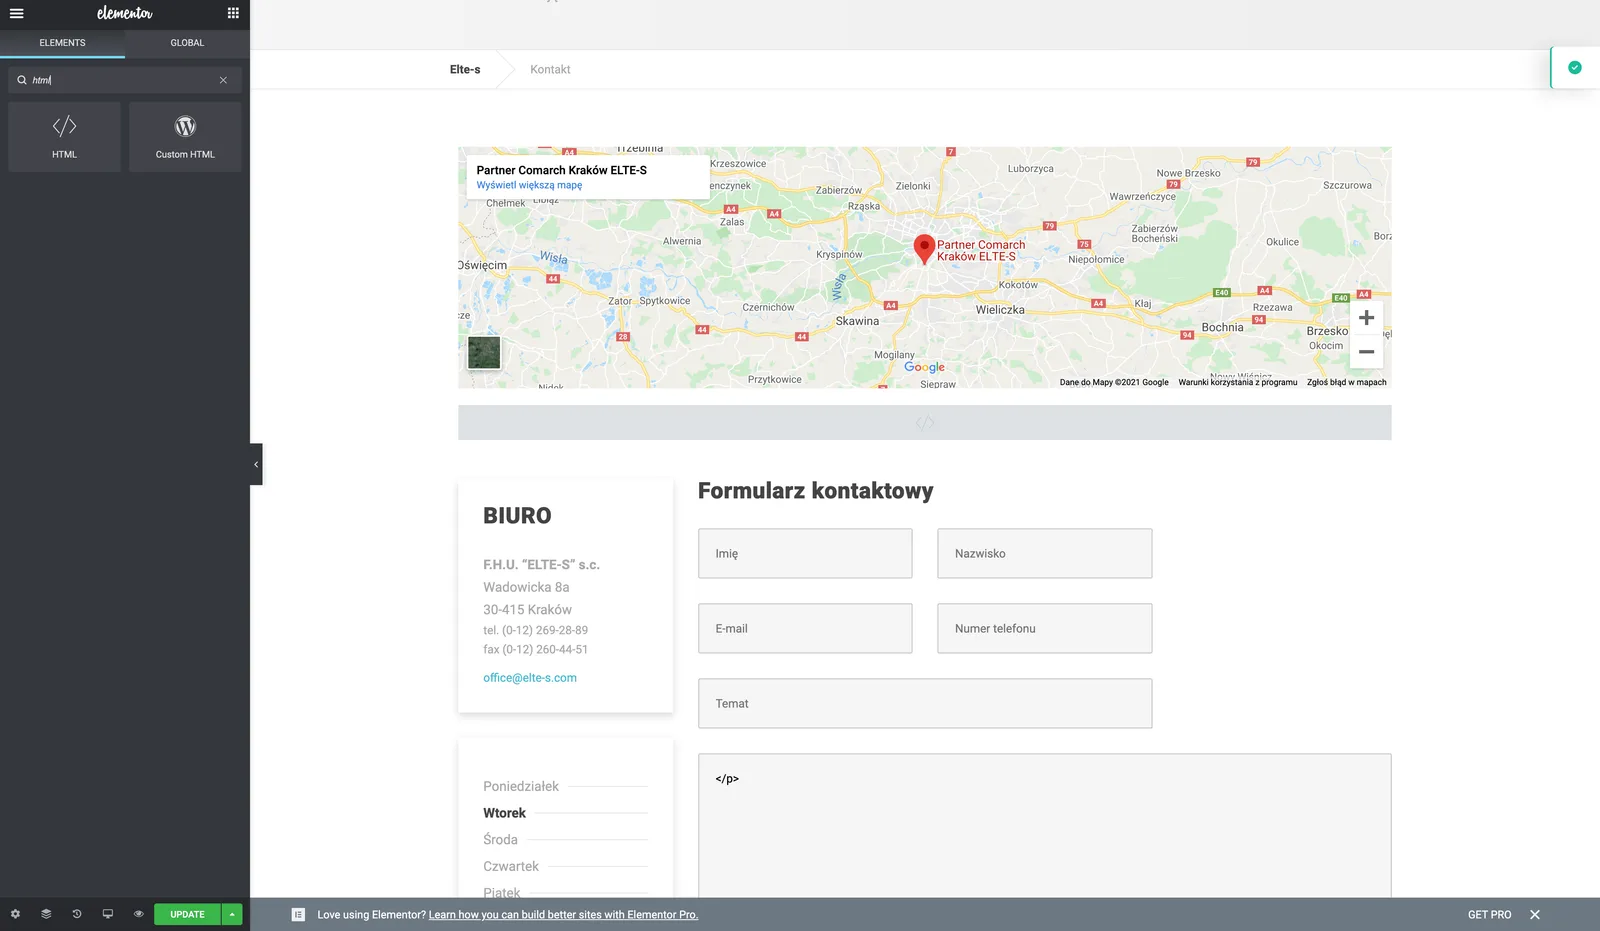
Add an HTML widget to your layout, then paste part 3 into it.
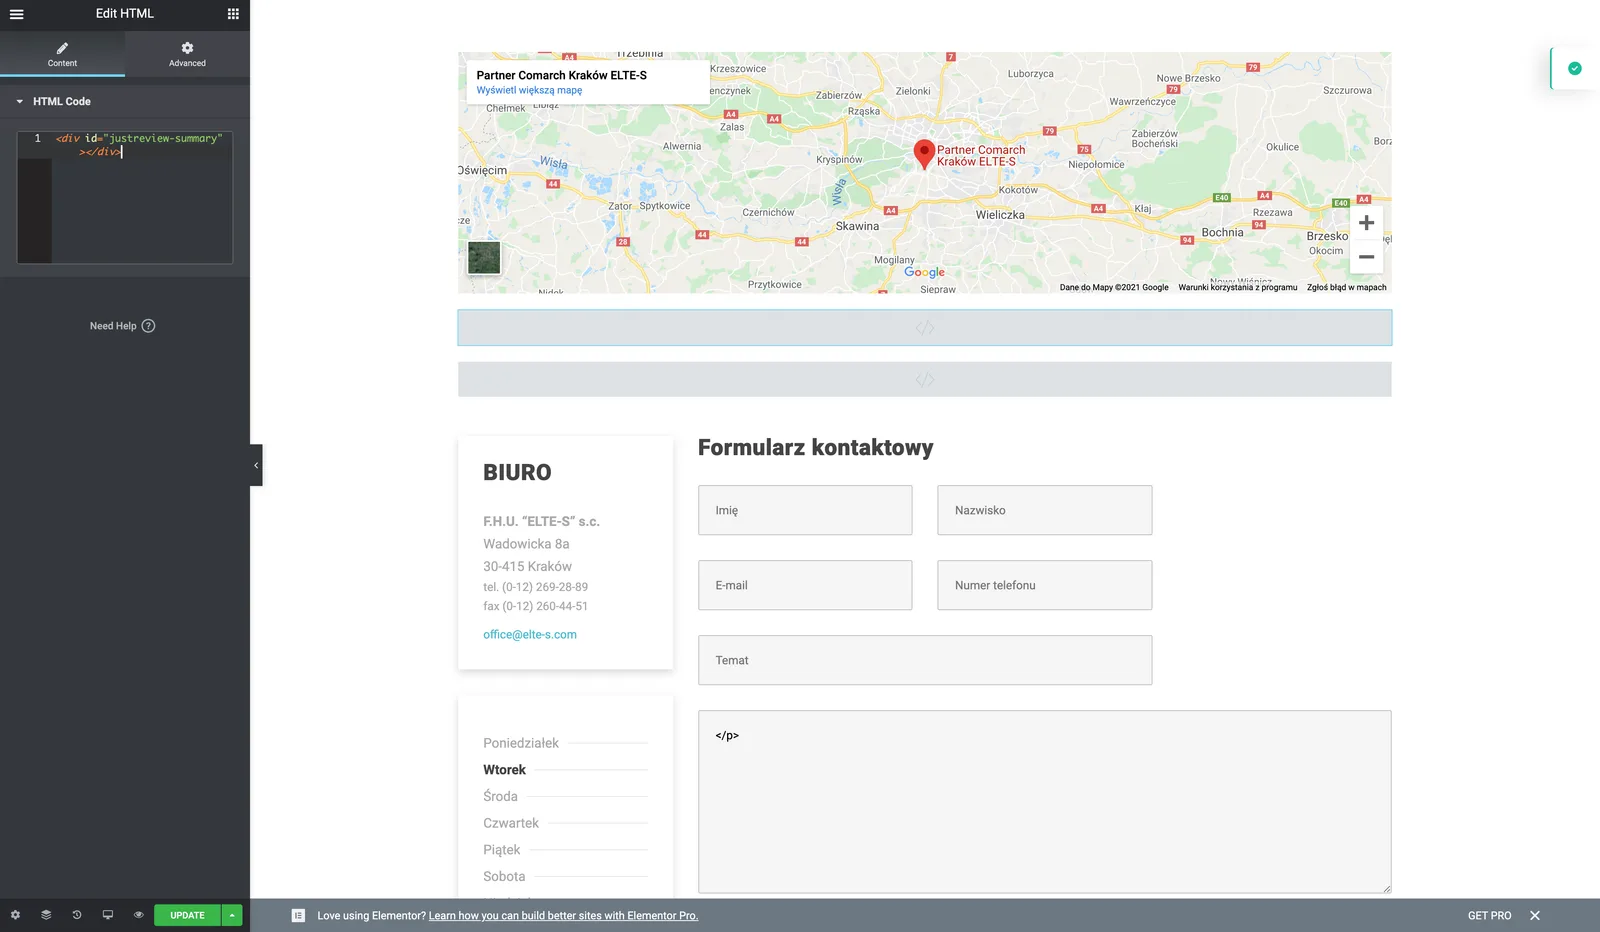

Divi needs the three parts split across different places.
-
Add a Code module inside a new section and paste your container
<div>.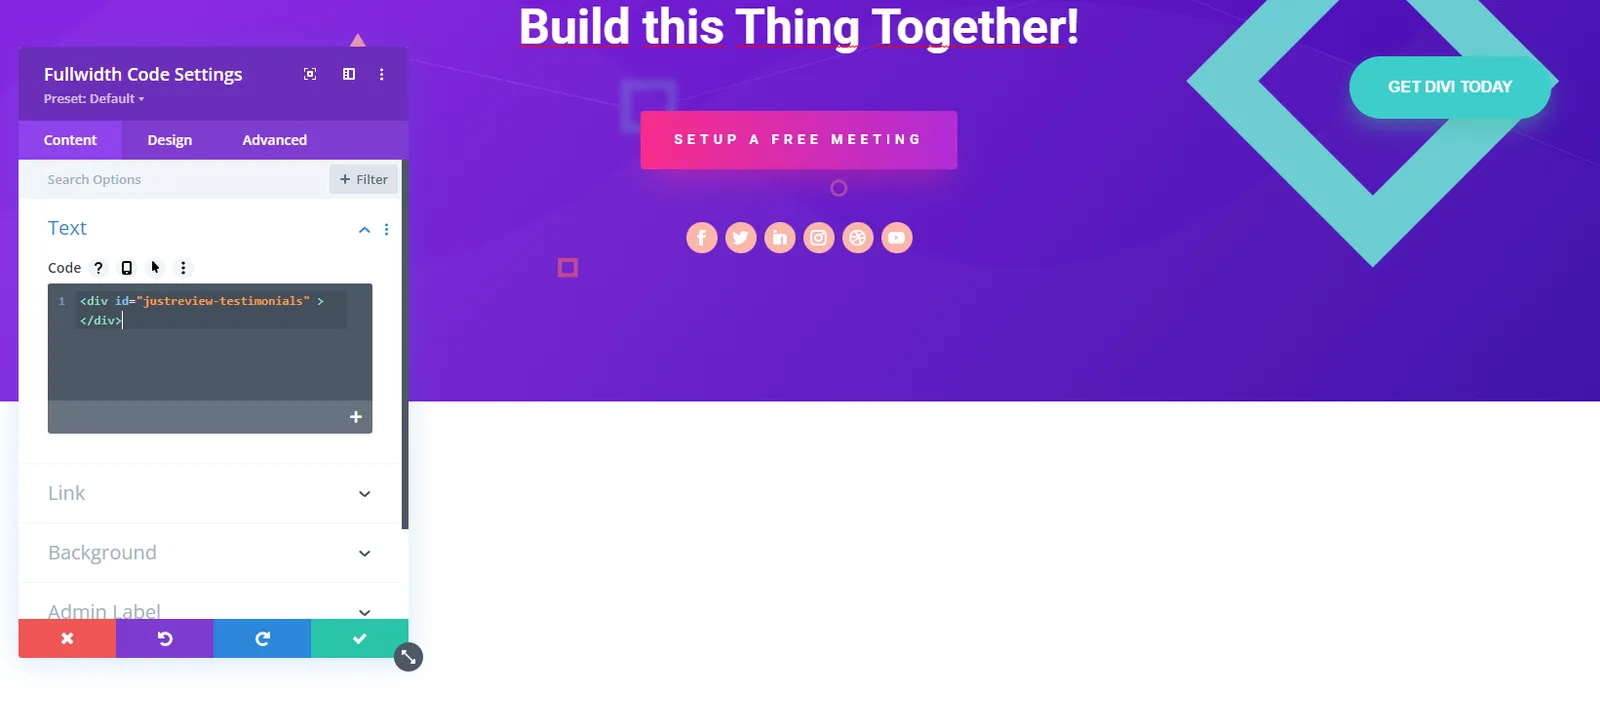
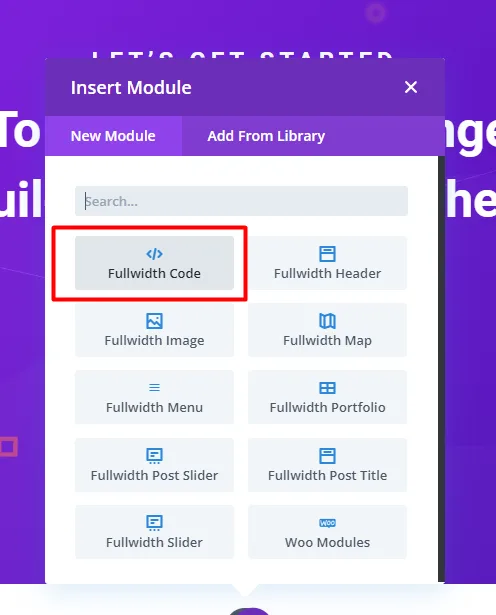
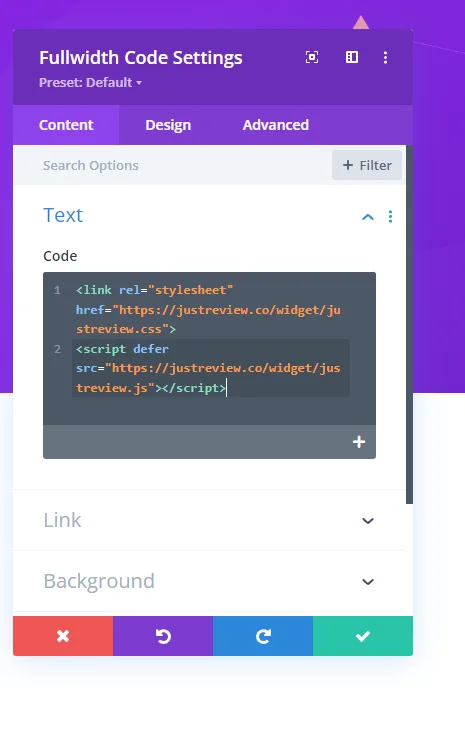
-
Add the library files (part 1).
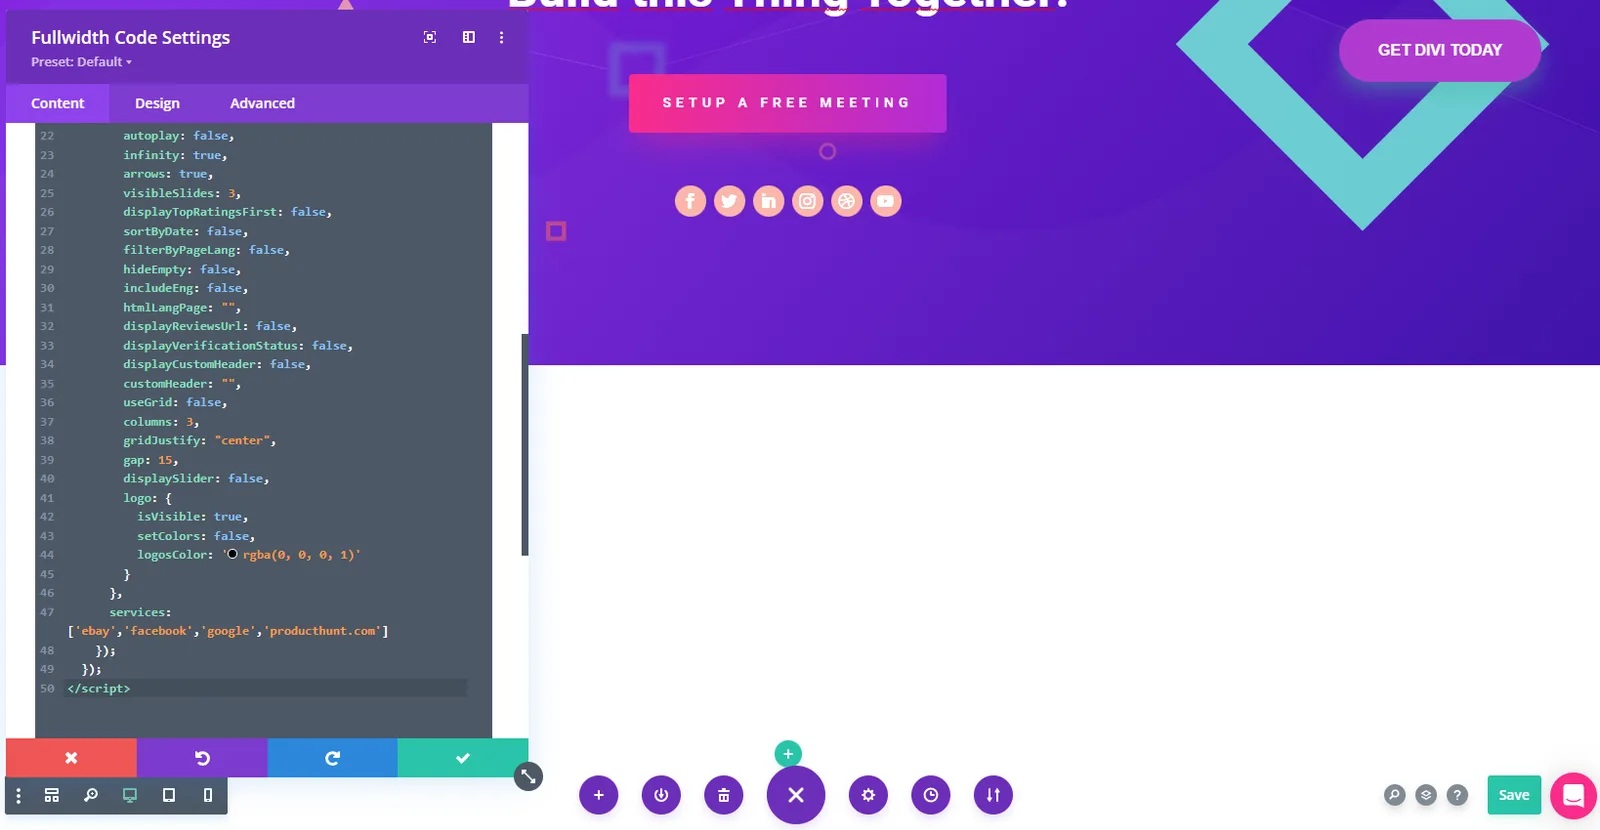
-
Add the JustReview configuration script (part 2).
Do not forget to save.
Widget still not visible?
Work through these in order, they cover almost every case:
- Domain whitelist in Settings matches your address.
- Part 3 (the container
<div>) is present on the page. Without it there is nothing to fill. - Caching plugin. WP Rocket, LiteSpeed Cache and similar tools cache the old HTML and can
defer or combine JavaScript. Purge the cache, and exclude
justreview.jsfrom JS optimisation. - Part 1 appears exactly once. Loading the library twice can break rendering.
- The Badge widget needs at least one review before it shows anything.